Welcome to Our company's Website.
Welcome to Our company's Website.
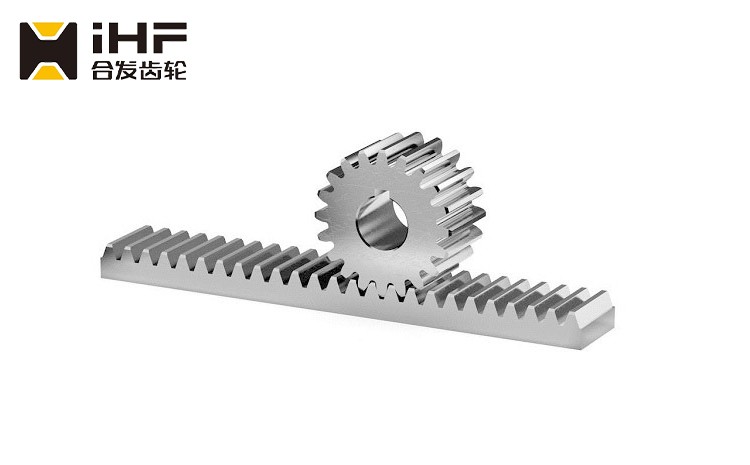
Control method of rack finishing The equipment and processing method used in this process are the same as those in the previous process, but the difference lies in the control of rack processing accuracy. First, clamp the bottom surface of the workpiece toward the main shaft of the machine tool, place the contour gasket, and then gently clamp it after alignment. Machine the bottom surface of the rack to 0.3mm machining allowance, then rotate the workpiece 180 ° and place it on the contour gasket to process the tooth profile. First, machine the top surface of the tooth to the pattern size. Because of the high requirements for the accuracy of tooth thickness and pitch, the measuring rod is used to control the accuracy of the tooth profile during the process of finishing the tooth profile.

During processing, process the tooth side, place the measuring rod in the tooth grain, measure the actual distance between the measuring rod and the top, and the difference between h and h, and then calculate the machining allowance A of the blade along the bar rectangle according to the formula a=2Ahtan 25 °
After one tooth is processed by the rack, the sliding block of the machine tool moves 152.4mm along the length direction of the rack to process two teeth, and the dimensions of each tooth and the length direction are processed in turn. The tooth surface is processed in three passes. Then, use R15 ball knife to clean the back. After the tooth profile processing is completed, turn the workpiece over to remove the machining allowance of thickness and width, and then assemble according to the following sequence.
It is difficult to control the deformation when directly machining the tooth profile from the forging material, which requires a reasonable process sequence and clamping method for the workpiece rack processing. The tooth thickness tolerance and tooth pitch error of the rack are very large
Small, the cumulative error of the full length pitch is 0.10~0.15 mm. It provides reference for the processing of similar products in the future.
The above is an introduction to the tooth thickness tolerance of precision racks. If you need precision racks, please consult the iHF Hefa gear manufacturer.

Building C, Anhongji Industrial Park, 16 Dalang Chuangyi Road, Longhua Area, Shenzhen
FAX:0755-28107195
Telephone:0755-28106587